
5 Steps to declutter your paper
By guest writer Jana Arevalo. Jana is a Texas native, a former dance and PE teacher, and a 16 year military spouse. As a busy mom of 3, she has created organizational systems in her own home to help calm the chaos of an active duty military lifestyle. Jana is a MILLIE Scout in Tampa, FL, a content creator, and a social media manager for MILLIE. She loves to help other military families with their PCS and organizational needs, and therefore created The Organized Military Life in order to help other military spouses get organized! In her free time, Jana loves working out, paddleboarding, taking dance classes and traveling with her family. Connect with her at The Organized Military Life on Facebook, Instagram, Pinterest or on www.theorganizedmilitarylife.com. Happy Organizing!
In September of last year, our family was hit with COVID. EVERYTHING got out of order. My Dad was here visiting, and it hit him first. It hit me next, and then, like dominoes, everyone else in the family got sick. I didn’t feel like doing anything, and I most certainly didn’t feel like dealing with my pile of paper. Finally, after a full three weeks after the COVID fiasco: it was time to tackle my pile of paper. I applied this 5 step process, and I was able to deal with my paper pile in about an hour. Keep reading to see my 5 steps to declutter your paper.
Step One: Keep, Toss, or Shred
The first of my 5 steps to declutter my paper is a quick decision. This is usually my first step when new paper enters the house. Whether the paper is from the mail, my kids’ backpacks, the doctor’s office, or wherever, I try to immediately decide if I should keep it, toss it, or shred it. Taking this preemptive step really helps to eliminate a lot of paper clutter before it can even collect in the house.
Sometimes when a paper is brand new, I can’t throw it away immediately. However, if it hangs around long enough in THE PILE, it becomes irrelevant, it resolves itself, or it becomes much less important. For example: I had expired coupons that I totally intended to use one month ago. However, one month later, I now have no use for them. Decision Point: Toss. Then, there were some insurance/ medical bills that I didn’t need anymore. Shred. Lastly, I had a bunch of papers that I needed to either file or deal with immediately. Keep. Normally, if I am keeping up with THE PILE on a weekly basis, this first step takes me about 5-10 minutes.
Once I have sorted everything I have decided to keep, it’s time to move on to Step Two!
Step Two: Action or File
In step two, I am once again making very quick decisions. I make two piles of "action" or "file." I am not doing anything in this step, just deciding what needs to be done with the paper. For me, the "action" pile consists of papers that need immediate action. For example, bills, school paperwork, or other papers that have a time deadline. My "file" pile consists of the papers that I need to keep, but don't require me to do any particular action. This step took me maybe another 5 minutes. Now, it was time to move on to Step Three: Take Action.
Step Three: TAKE ACTION
Ugh! This is the step that I put off the most. But, I’m going to do it right now (while writing this) to see how long it actually takes for me to get through my action pile. This is more of an experiment for my own knowledge so hopefully next time I won’t put it off so long. Ok, here I go…
- First Item: An insurance bill: 5 minutes! I had to call the company and start the ball rolling on this process. But, I need to keep the paper since it’s not resolved. However, I have been putting this off for months because I thought it would take hours. HA! 5 minutes.
- Second Item: My kid’s school picture form: I realize can throw it away since they also sent me an email, FABULOUS! Can everyone just send me the email please?? No more paper! I digress...5 seconds
- Third Item: Yearbook order form, has to be done online: 2 minutes.
- Fourth Item: Another picture order form for another kid. No email for this one, (BOO!) and it has to be dealt with in paper and a check: 3 minutes. Bonus: I get to throw away those papers! Success!
- Fifth Item: Kid’s progress report, just had to sign and date. 5 seconds
- Sixth AND FINAL item: Another insurance bill. Called and she said she would handle it and to go ahead and shred the bill. This took 2 minutes and I get to shred it!? Yes, m’am! You don’t have to ask me twice.
Okay so all of those "action" items all totaled up: 12 minutes and 10 seconds. WOW. I was procrastinating for so long about 12 minutes and 10 seconds? I have to remember this in the future! On to STEP 4!
Step Four: Physically File or Scan
In trying to pare down my paper overall, I’ve decided I’m going to start scanning most things as I go and then toss the paper. It adds another step, but it opens up a lot of physical space. Historically, I have held on to a lot of papers that I have NEVER referenced again. These are those papers that hold important information, but you don’t really NEED them. Examples: Insurance Bills, Car Maintenance Receipts, Veterinarian receipts, etc. The answer is scanning. I can scan it, file it electronically, and then get rid of the paper. If I ever really need a hard copy then I can just print it out again. But, most of the time if someone else needs that paper, I am going to be scanning and sending it to them digitally anyway. So, I’ve just reduced that process by one step.
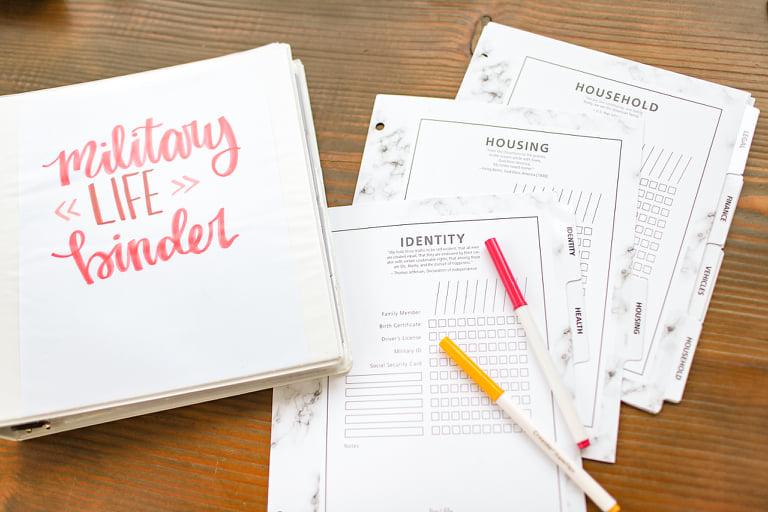
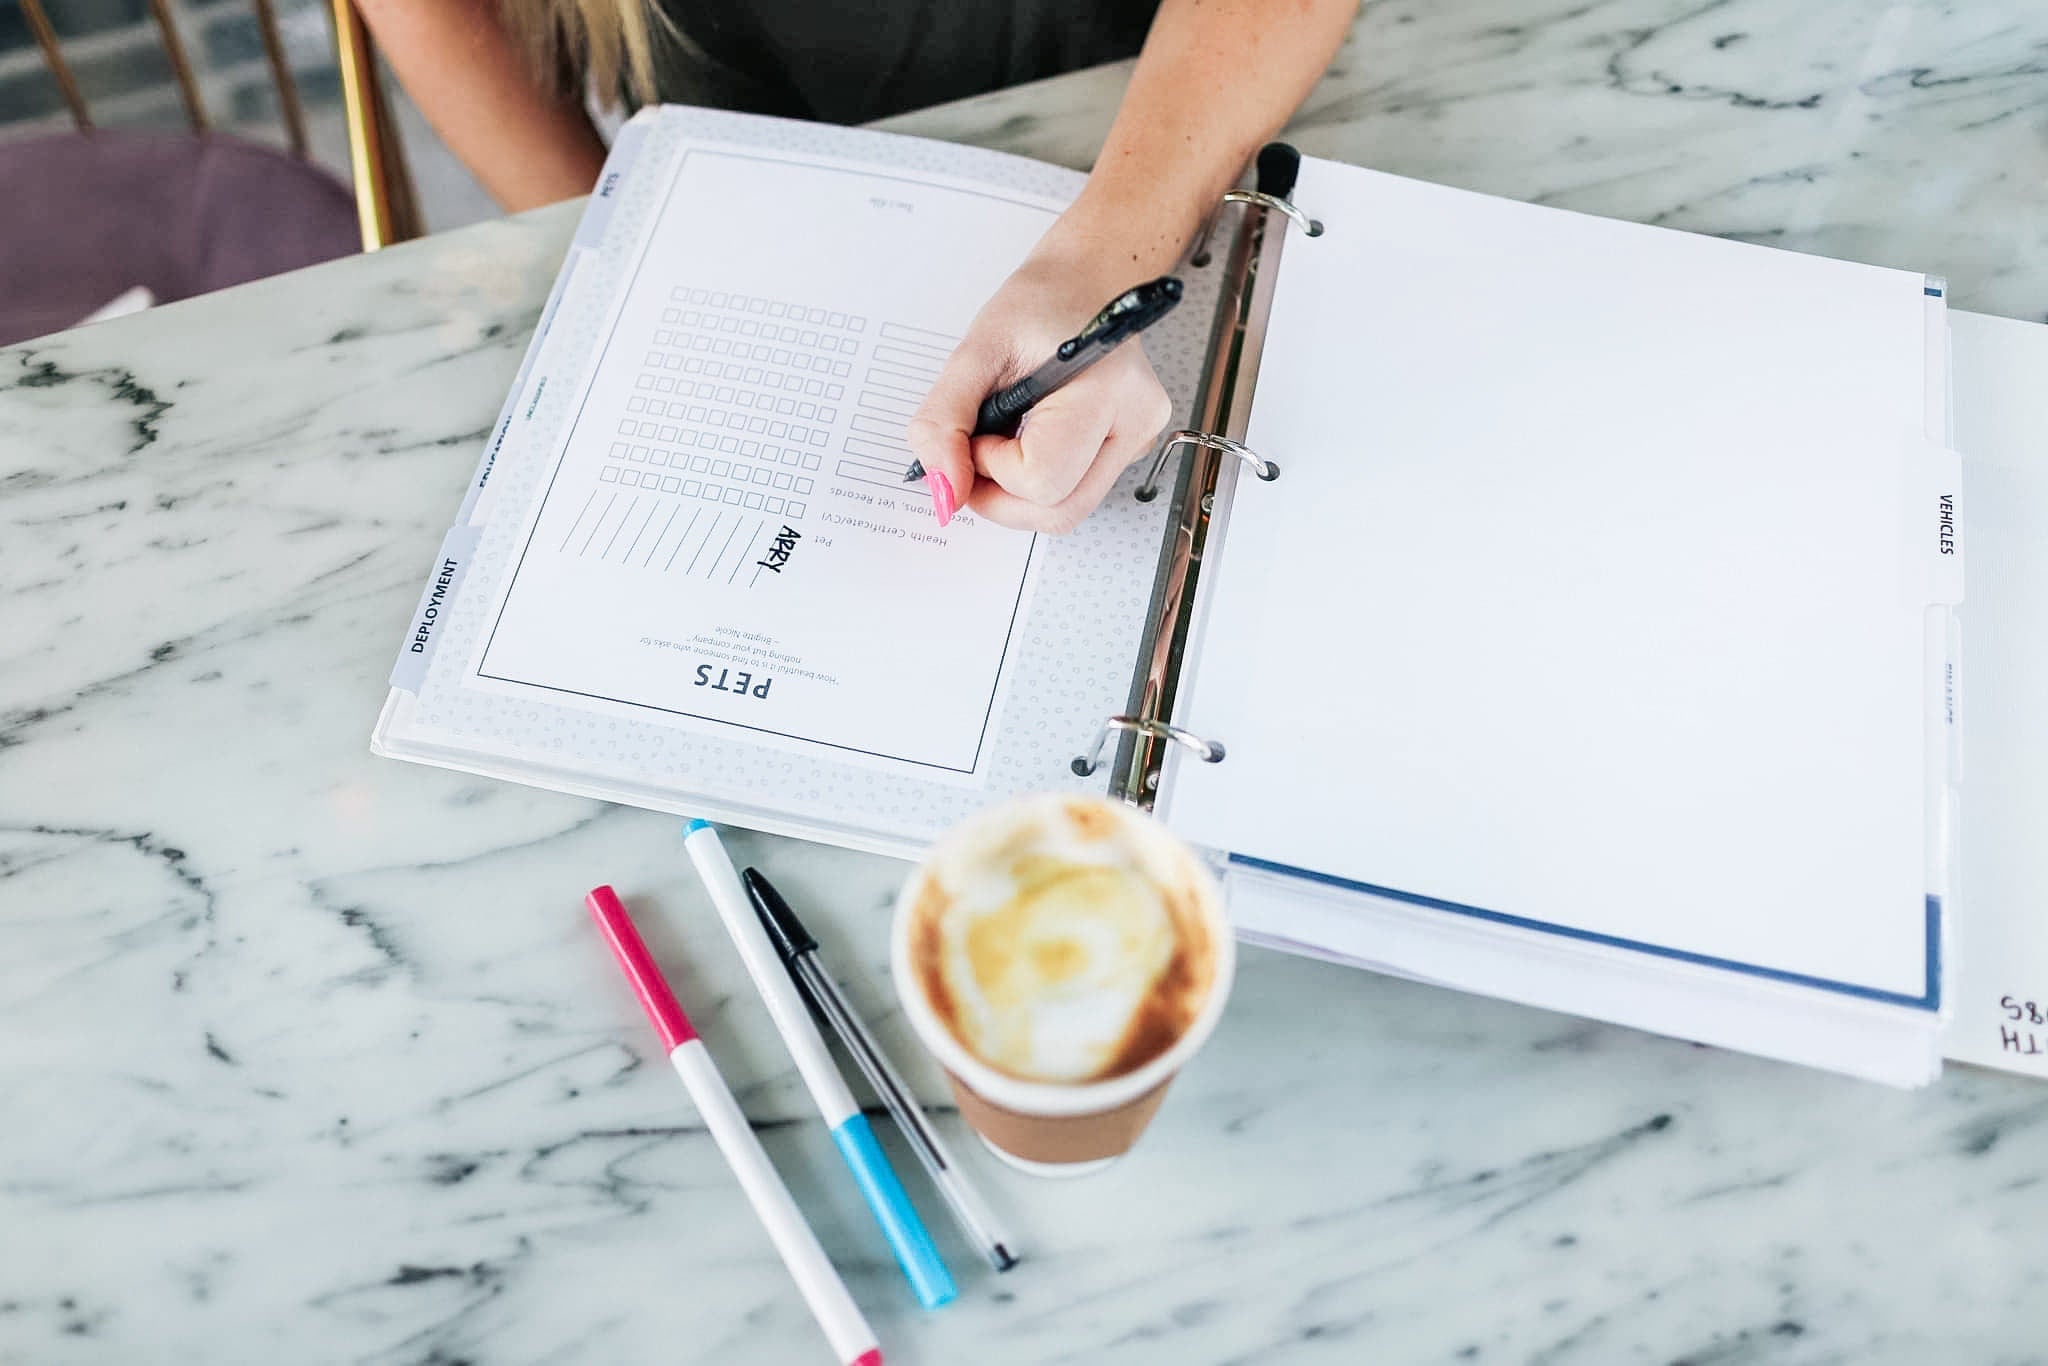
Obviously, you can not get rid of ALL of your paper (I wish!). There are some very important papers that you need to keep physically filed and safe. You want to make sure to keep the originals of any and all birth certificates, college transcripts, religious documents, or any documents that would be hard to replace. For military families, it would be handy to keep these in a specific binder that's easy to keep with you when PCS'ing or when you need to set up new appointments. Check out List and File's Life Binders to help you organize these important documents!
But back to Step 4. Total time: 30 minutes! I scanned, I filed, I shredded. I put some things away in our memory box full of photos and cards. For the very large pile of paper, it only took me 30 minutes to physically file and digitally scan all of that paper. I will have to remember that in the future when things seem to be so overwhelming.
Step Five: Enjoy the Feeling!
My Paper “power hour” (plus a few minutes to account for the amount of paper that had built up) is done! THE PILE consists of just two papers! I am FREEEEE! Haha…until this afternoon when the mail comes, the kids get home from school, and the paper battle begins again. But, I am going to savor this moment and have a cup of coffee and consider myself The Conquering Queen of THE PILE for a little bit! Join me for a cup of coffee will you? Let’s not think about ZERO INBOX today, or dealing with our PHOTO ORGANIZATION, or purging our contact lists. No, no, no. Just coffee and happiness. Here's a little sneak peak of what my 5 step paper decluttering process looks like!
What are some of your methods? Do you have A PILE, a basket, a tote? Do you have a different system that makes you feel like you are in control of your paper clutter?
Check out my 7 Day Digital Declutter Challenge or head over to my Facebook group The Organized Military Life to join the conversation and ask your questions about organizing!
Leave a comment
This site is protected by hCaptcha and the hCaptcha Privacy Policy and Terms of Service apply.